In this article:
- Accessing Page Settings
- Page Size
- Page Orientation
- Page Margins
- Page Numbers
- Background Color
- Grid Settings
- Applying Your Changes
- Best Practices
- Troubleshooting
Accessing Page Settings
Page settings allow you to customize the layout and appearance of individual pages within your reports. To access these settings:
- Open any report in the Report Builder
- Locate the page icon with a settings cog at the top of each page
- Click the icon to open the Page Settings pop-up
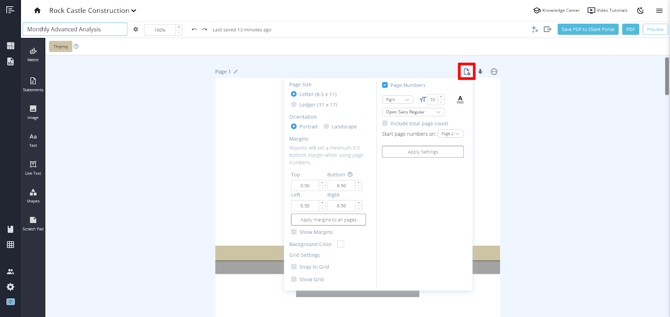
Note: Page settings are applied individually to each page, giving you flexibility to customize different pages within the same report.
Page Size
Choose between two standard page sizes for your report:
- Letter (8.5" x 11") - Standard US letter size, ideal for most business reports
- Ledger (11" x 17") - Larger format, useful for detailed financial statements with multiple columns
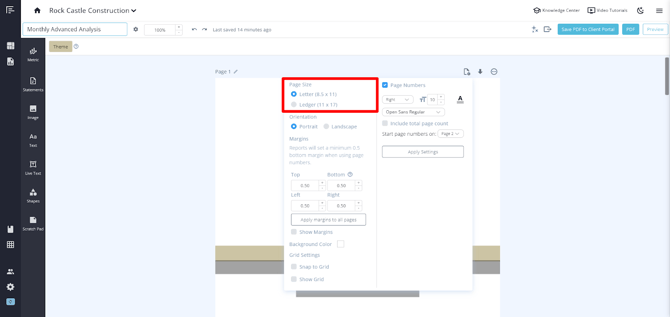
Tip: Use Ledger size when working with statements that have many columns or when you need to display more data without scrolling across multiple pages.
Page Orientation
Select the orientation that best fits your content:
- Portrait - Vertical orientation (default)
- Landscape - Horizontal orientation
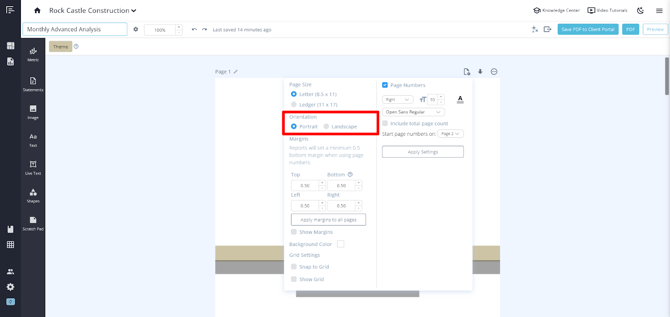
When to use Landscape: Landscape orientation is particularly helpful for:
- Financial statements with numerous monthly columns
- Wide tables or metrics that would otherwise require horizontal scrolling
- Comparative reports showing multiple time periods side by side
Page Margins
Control the white space around your content with margin settings:
- Default Margins - Reach automatically sets appropriate margins for your page
- Custom Margins - Define your own margin measurements for top, bottom, left, and right
- Show Margins - Toggle this option to display margin guidelines while editing (helpful for precise positioning)
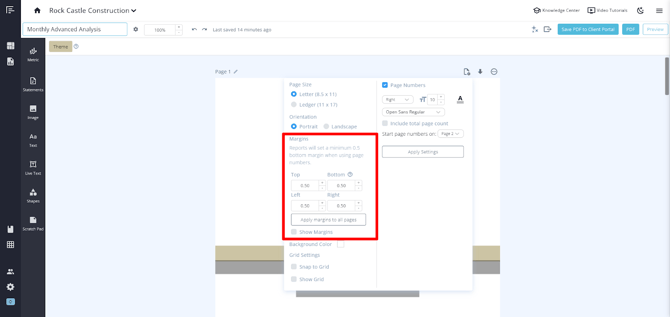
Important: When page numbers are enabled, Reach automatically applies a minimum 0.5" bottom margin to ensure proper placement of page numbers.
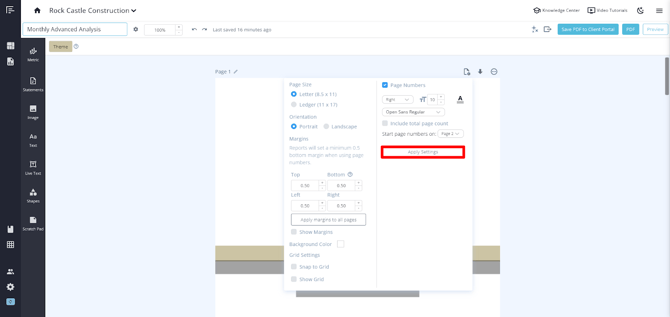
Page Numbers
Add professional page numbering to your reports:
- Enable Page Numbers - Check the box to add page numbers to your report
- Include in Total Count - Choose which pages should be included in the total page count (e.g., "Page 1 of 5")
- Starting Page - Select which page the numbering should begin on
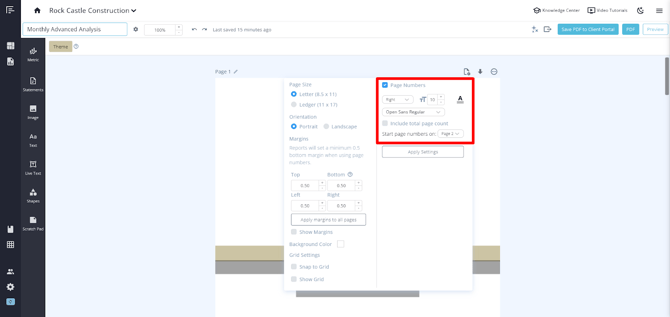
Common Use Case: You might want to start page numbers on page 2 if your first page is a cover page that shouldn't be numbered.
Note about Live Text: When editing Live Text settings, the page numbers in the Live Text editor always refer to the actual page position in the report (first page = Page 1), not where your page numbering starts. For example, if you set page numbers to start on Page 3, the Live Text editor will still call that first page "Page 1."
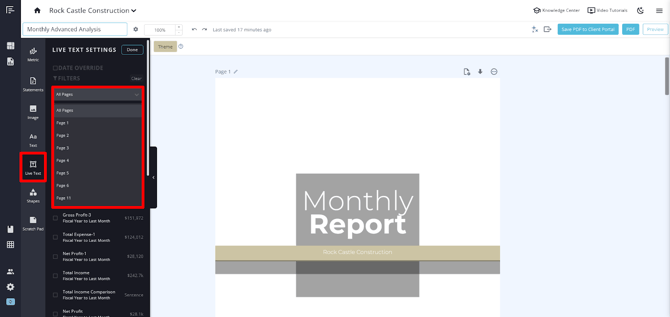
Table of Contents
Many reports include cover pages and a Table of Contents before the main content begins. In these cases, you may want your page numbering to start after these introductory pages.
For example, if your report has a cover page (page 1) and a Table of Contents (page 2), but you want the numbering to begin on page 3:
- Click the page settings
- In the page number settings, select page 3 from the "Start page numbers on" dropdown
- Click Apply Settings
This setting will:
- Remove pages 1 and 2 from displaying page numbers
- Remove pages 1 and 2 from the Table of Contents
- Make page 3 appear as "Page 1" in your report
This creates a more professional appearance, where your actual content begins on page 1, even though it's the third page of your PDF.
Background Color
Customize the appearance of individual pages by changing the background color:
- Click the color picker in the Background Color setting
- Select a color or enter a hex code for precise color matching
- Use this feature to create visual sections or themes within your report
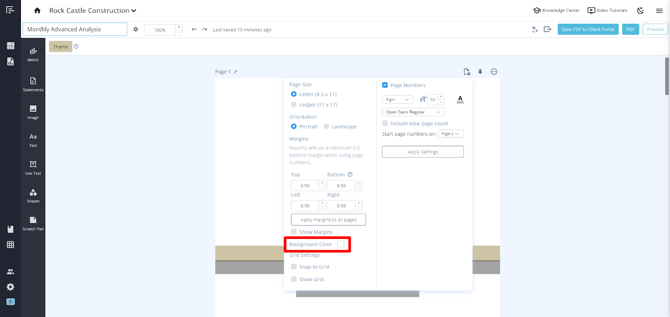
Design Tip: Use subtle background colors to differentiate sections of your report, such as using a light blue background for executive summary pages and white for detailed financial statements.
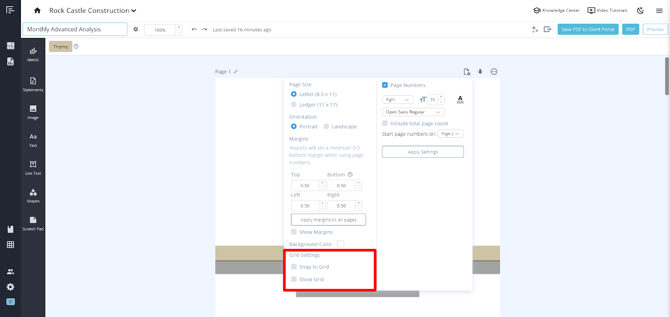
Grid Settings
The grid feature helps maintain consistent alignment and spacing of elements on your pages:
- Show Grid - Display a visual grid overlay on your page while editing
- Snap to Grid - Enable this to automatically align elements to the grid when placing or moving them
Benefits of Using the Grid:
- Ensures professional alignment of text boxes, metrics, and images
- Speeds up the layout process by providing automatic alignment
- Creates a more polished, organized appearance in your final reports
Applying Your Changes
After adjusting any page settings, remember to click "Apply Settings" to save your changes. Settings will not be saved if you simply close the page settings without applying them.
Best Practices
For Financial Statements:
- Use Ledger size and Landscape orientation when statements contain many columns
- Ensure adequate margins for professional appearance and printability
For Multi-Page Reports:
- Apply consistent page settings across similar sections for cohesive design
- Use the grid feature to maintain alignment throughout the report
- Test your page settings by exporting to PDF to ensure everything displays as intended
- Consider starting page numbers after any cover or title pages
For Client-Facing Reports:
- Enable page numbers for easy reference during meetings
- Use background colors sparingly to maintain readability
- Check that custom margins don't cut off important content when printed
Troubleshooting
My content is cut off when exported to PDF:
- Check your page margins - they may be too narrow
- Verify that your page size and orientation are appropriate for your content
- Resize elements that extend beyond the visible page area
Page numbers aren't appearing:
- Ensure you've clicked "Apply Settings" after enabling page numbers
- Check that the starting page number is set correctly
- Remember that a minimum 0.5" bottom margin is required for page numbers
Elements aren't aligning properly:
- Enable "Show Grid" to see alignment guides
- Turn on "Snap to Grid" for automatic alignment
- Use the grid to manually adjust element positioning
Go to the Reach Reporting app>
ARE YOU NOT CURRENTLY USING REACH REPORTING?
learn more at reachreporting.com
We are dedicated to helping you.
- Need Additional Help?
Your success is important to us.
Whether you're working as a CFO of a business or part of an accounting firm, Reach Reporting is here to improve your working knowledge of reporting and provide service tips and skills to ensure you're at the top of your game.
We make sure that you have access to staff members who are best suited to help you. We work together to resolve issues and create memorable moments that empower you to enhance your reporting skills.
We are here to listen to you. We understand that using new technology can be frustrating, so we can answer questions or jump on a quick Zoom call. Our entire staff has an in-depth knowledge of Reach Reporting and can quickly direct you to best practices to improve your reporting.
We are focused on providing solutions that save you time and increase your value. We continue to improve each day and look forward to visiting with you. Your communication with us is vital and appreciated.
Please feel free to chat with us by clicking the help chat bubble in the lower right-hand corner of this page.
Reach out to your Reach Reporting Rep and schedule a Zoom meeting by clicking the meeting link in their email signature.
Or schedule to join our ongoing webinars.
Reach Reporting is dedicated to helping provide a knowledge base that is easy to understand and informative. If you still have questions that have not been answered, please let us know by emailing support@reachreporting.com, chatting with our support team, or calling us at (877) 467-7637. We are here to ensure that you have a positive experience with Reach Reporting, as we want to continue to be the reporting solution you trust.
Need more access to Reach Reporting Resources?
Reach Reporting has a wealth of knowledge and a robust online community to support you as you create reports that provide powerful insight. Please look into the following resources.
Reach Reporting Blog: We add blogs to our site every month to give you great information in a fun and friendly manner.
Case Studies: We interview one company per month to help our clients highlight how they are using Reach Reporting and how it is improving their services and firm offerings. These case studies are invaluable to our community.
Knowledge Center: From simple to complicated, we provide step-by-step guidance to utilize every aspect of Reach Reporting in our robust knowledge center.
Video Tutorials: We know watching is sometimes easier than reading, which is why all of our tutorials are video-based in the video tutorial section of Reach Reporting and Youtube.
Social Networks: Join us on FaceBook, LinkedIn, Youtube, and Twitter.
Monthly Newsletter: Go to the footer of reachreporting.com and sign up to receive the Reach Reporting newsletters delivered directly to your inbox. Our newsletters cover tips and tricks, current events in accounting, strategies to improve your advisory services, and much more.
We look forward to helping you build insightful reports,
The Reach Reporting Team.